


 English

News
Wed 10 , 2026
Two suppliers can deliver a Tool that looks identical on the bench and behaves completely differently in production. The difference is almost always decided at the mold trial — the first time the tool is mounted, heated and run against real resin. A trial is the last point at which a tooling problem is cheap to fix. Once the tool ships, every correction costs freight, downtime and another sampling round. This guide explains what an injection mold trial involves, what to inspect on the first samples, and what has to be true before you approve a tool for production.
If you are commissioning a new tool, the trial is your acceptance test. Treating it as a formality is the most expensive habit in tooling projects.
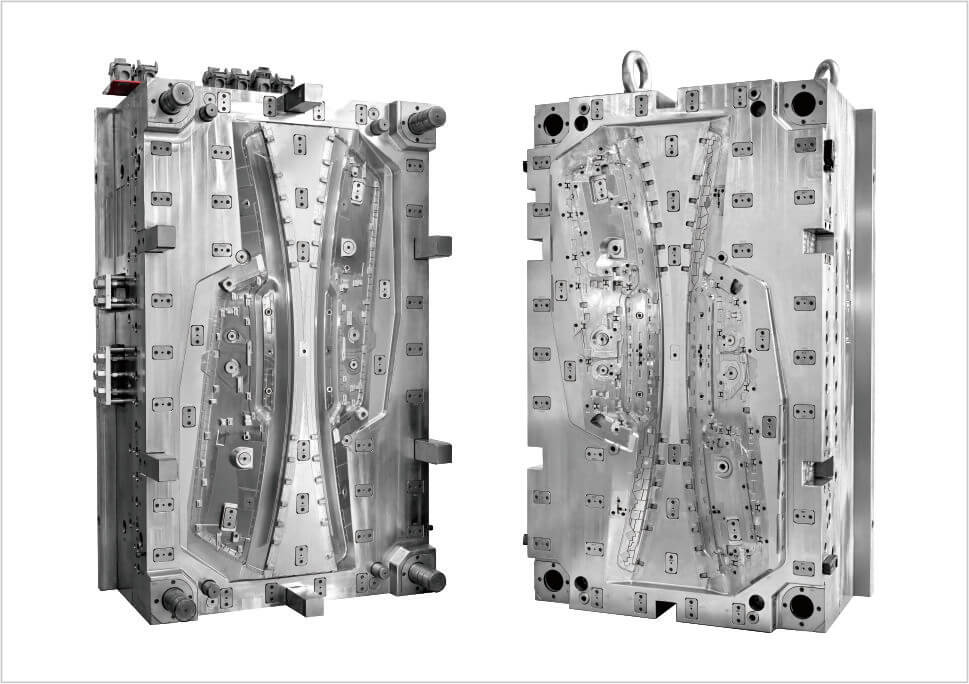
An injection mold trial is the first complete run of a new tool on an injection molding machine, using the resin, the machine size and the process settings the part is actually intended for. It is not a demonstration. The tool is clamped, the cooling circuit is connected, the runner system is filled for the first time, and the parts that come out are measured against the drawing.
The first trial is normally called T1. A T1 sample injection molding run is the first time the tool meets production conditions, so it should be run by the same team and on the same class of machine that will run the production order. Trials run after corrections are T2, T3 and so on. Most tools reach an acceptable part at T1 or T2; a tool that needs four or five rounds usually means the Design review was too light, not that the toolmaker is slow.
A trial answers three questions at once: does the tool fill and eject correctly, do the parts meet the drawing, and can the process repeat that result cycle after cycle?
The mold trial procedure is fairly standard, and it is worth knowing the sequence so you can tell whether your supplier is running a real trial or simply shooting a few parts to show you a photograph.
Mount the tool and verify the locating ring, the ejector pattern and the water fittings before the first shot.
Bring the tool to steady-state temperature. A trial run on a cold tool produces dimensions that will never repeat in production.
Fill gradually. Start short and increase shot size until the cavity is 95–98% full, so you can see how the flow front behaves.
Balance the fill across cavities. On a multi-cavity tool, every cavity should fill at the same time; if it does not, the runner is wrong.
Optimise hold pressure and cooling time against part weight and dimensions, not against the cycle-time target.
Run a stability window. Once the settings are found, run a continuous batch to confirm the process holds without adjustment.
Inspect and record. Measure the parts, photograph the defects, and write the numbers into the trial report.
An injection mold trial run that produces good parts on the first shot and then drifts over the next fifty is not a good trial. Stability is the deliverable, not the sample.
Knowing what to check during a mold trial is what separates a buyer who gets a working tool from one who gets a tool that needs a second budget. The table below groups the checks by what they protect you against.
| Area | What to check | What it protects you against |
|---|---|---|
| Fill and flow | Short shots, weld lines, air traps, jetting, balance across all cavities | Cosmetic rejects and weak weld lines that only fail in service |
| Dimensions | Critical dimensions against the drawing, including any that are tolerance-critical on the assembly | A tool that has to be welded and re-machined before it can run |
| Shrinkage | Measured shrinkage per dimension, per direction (flow vs cross-flow) | A tool cut to nominal that never reaches nominal |
| Warpage | Flatness, twist and bow after 24 hours, not immediately after ejection | Parts that pass at the trial and fail at the customer's incoming inspection |
| Surface | Texture reproduction, sink marks opposite ribs and bosses, gate blush | Aesthetic rejects on visible parts |
| Ejection | Ejector marks, sticking, drag marks, part drop and cycle reliability | Manual intervention at the machine on every cycle |
| Cooling | Actual cycle time, cavity surface temperature balance, flow rate per circuit | A tool that only reaches the quoted cycle time in the trial report |
| Tool mechanics | Slider, lifter, unscrewing and hot runner behaviour under continuous running | Damage to the tool within the first production week |
First article inspection in injection molding is the formal dimensional report produced from the parts made during the trial. Where a trial tells you whether the tool works, first article inspection injection molding tells you whether the parts conform. It is a document, not a conversation.
A proper first article report lists every dimension called out on the drawing with its nominal, its tolerance and the measured value, plus the measurement method and the instrument used. Where a dimension is out of tolerance, the report states what will be changed and by how much — usually by adjusting the steel, not by adjusting the process.
Ask for it before you approve the tool. A supplier who cannot produce a first article report at the trial stage will not produce one later, and you will be left qualifying the tool from production parts.
The practical answer to how many samples for a mold trial is: enough to prove stability, not enough to become a production run.
A useful minimum is a short setup batch to find the process window, followed by a continuous run of 30 to 50 consecutive cycles at fixed settings. Those last parts are the ones that matter. Pull the first, middle and last part of that run and measure all three: if they agree, the process is repeatable. If they drift, the tool or the process is not ready.
Send a sample set to your customer or to your own assembly line before approving the tool. It is far cheaper to hold the tool at the mold maker for a week than to discover an assembly problem after 10,000 parts have been moulded.
The injection mold trial report is the record you will come back to when a problem appears six months into production. If it is thin, every future investigation starts from zero. A report worth signing off contains at least the following.
| Section | What it must show |
|---|---|
| Machine and resin | Machine model and tonnage, screw diameter, resin grade and supplier, drying conditions, colour and lot |
| Process settings | Barrel temperatures, injection speed and pressure, hold profile, cooling time, mold temperature |
| Cycle data | Actual cycle time broken into fill, hold, cool, open, eject |
| Part data | Part weight per cavity, shot weight, measured dimensions, shrinkage values |
| Defects | Photographs of every defect found, with the setting or tool change made in response |
| Tool changes | Any steel adjustment made during the trial and the reason for it |
| Open items | What still has to be corrected before T2, with an owner and a date |
The open items list is the part buyers read first. A trial with no open items is either a perfect tool or a report that was written after the fact.
The trial goes faster when the inputs are already settled. Before the tool is mounted, make sure the mold maker has:
The final 3D part file and the 2D drawing with tolerances — the same revision you will use for first article inspection.
The exact resin grade you intend to run in production, not a similar one that happens to be on the shelf.
The colour and any masterbatch, plus the surface texture specification.
The agreed cycle-time target and the annual volume, so the process is optimised for the right point.
A named person on your side who can approve or reject a part during the trial window.
The last point is the one that slips most often. A trial that ends without a decision usually has to be repeated, and the second trial costs the same as the first.
Youking Mould has been building custom injection molds in Dongguan since 2006, with in-house mold design, tooling, precision component machining and injection machines on the same site. That matters at trial time: the people who cut the steel are the people who run the trial, so a correction found on Friday is a correction in the tool on Monday rather than a shipping document.
We run every new tool through a documented trial and issue the process sheet, the first article report and the open items list with the samples. If you want to know how the tool is prepared before it reaches the machine, see our injection mold design and custom injection mold tooling pages. For the commercial side, our guide to how much a custom injection mold costs explains what drives the tooling price, and what to consider before ordering a custom injection mold covers the decisions that should be closed before the trial.
An injection mold trial is the acceptance test for the tool, and it is the cheapest place in the whole project to find a problem. Insist on a real trial run at steady-state temperature, a balanced fill, a continuous stability batch, a first article report with measured values, and a written list of open items. Approve the tool on evidence, not on samples.
If you have a tool about to be sampled, send us the part drawing, the resin grade and your target cycle time. Our engineering team will tell you which dimensions to treat as critical, what to check at the trial, and what the tool needs before it can run production without supervision.
We attach great importance to the customers' demands for product quality and rapid production.
We always believe that meeting the customers' needs is the realization of our value!